The Splendide Dryer in our 2018 Renegade Verona was stupid loud.
That is the video our RV inspector sent us before we flew out to Florida to pick up the rig. It was way too much – but we knew from “the interwebs” that it was likely the motor bearings.
Some serious thought went into removing the dryer or even both the washer and dryer to gain a whole pile of interior storage. But as our travels have turned into longer and longer trips on the road we are finding having these appliances to be a pretty big plus. So who knows, we could decide to get the space and use RV Park laundry, we could swap in a combo wash/dry unit or we could just keep what we got. Time will tell.
Getting the dryer out was not that difficult – the exhaust hose slipped off on its own in the process….and that is interesting on the upcoming re-install which I’ll discuss later.
I found the manual here – it doesn’t say Splendide…but it is the same damn thing and I suspect sold under several brands in Europe.
https://www.splendide.com/service/Trainman63X.pdf
And here in case Splendide changes the link.
https://drive.google.com/file/d/12Mo8QGzlfy35cRT93jvcOwnQ1t57Ar18/view?usp=sharing
In the Verona there is 0 access behind the washer or dryer. It is tight. Remove the screws and boards holding it in and you land here. At this point you have already and inadvertently pulled the dryer exhaust hose off of the back of the dryer.

Reach back there and unplug the dryer, it’s just a standard household 15A plug.
Taking it apart is very simple. The manual lays it out well so I won’t go into it here. I did take a picture of the start capacitor(?) wiring so I could get it back together correctly!

I’m kicking myself for not taking pics of the motor once taken apart. It REALLY is simple. You need a pulley puller like this to remove the bearings. And I used a piece of copper plumbing pipe to hammer the new ones back on.
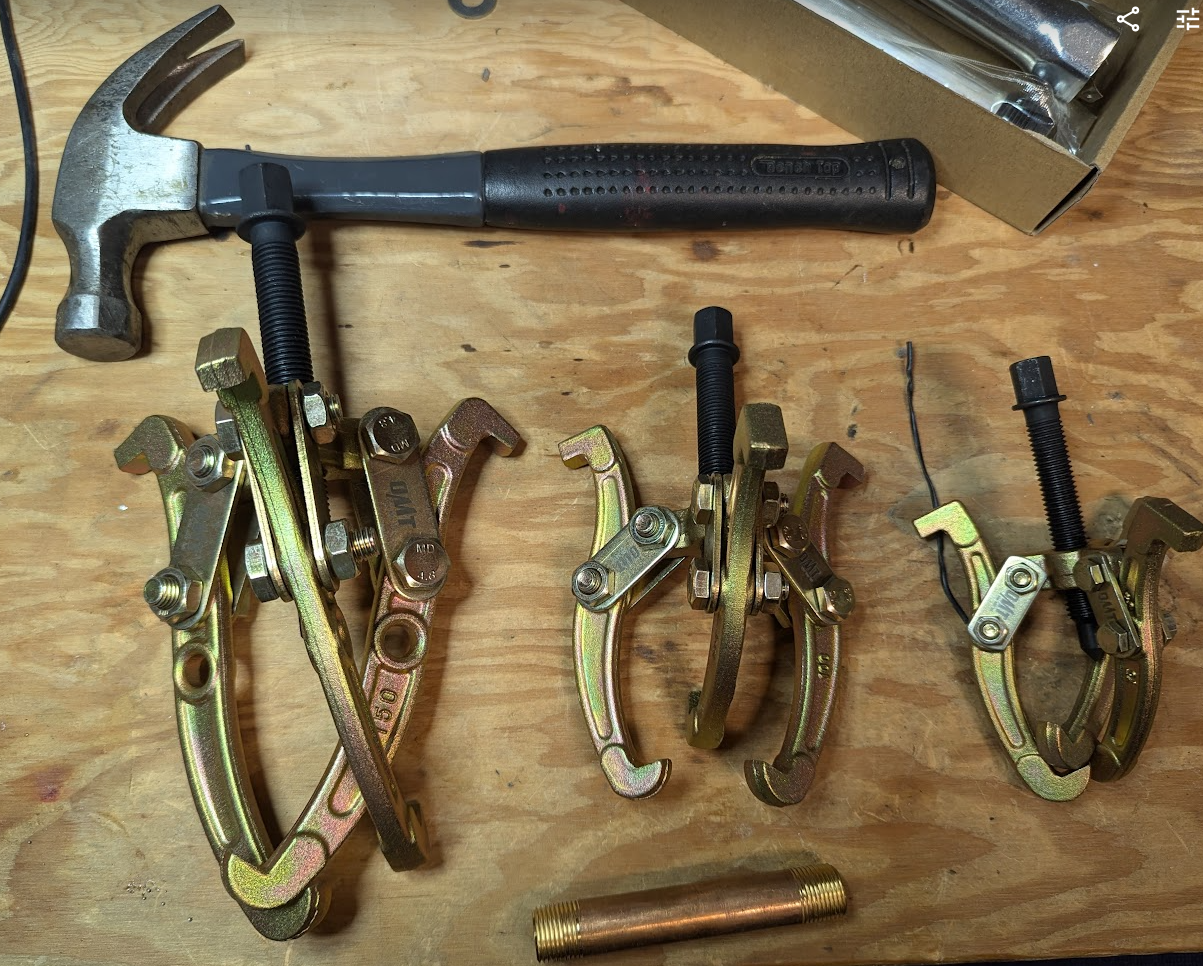
Pulley Pullers: https://amzn.to/3M13C25
Copper Pipe: Local True-Value hardware store
Bearings: https://amzn.to/4ckysxw
6001-2RS seems to be the magic phrase to say to get a bearing with these dimensions.
This is a pretty good video of someone else doing it. He used a press to re-install the new bearing on the the motor shaft. I used a piece of pipe and a hammer.
The hardest part of the whole process was getting the belt back on. In the manual you can see there is a belt that goes all the way around the drum and around the shaft of the motor. There is a “special” tool called for to put the belt back on. For me, a good sized screw driver through the belt and man-handle the belt back on the motor shaft.
Re-Installation
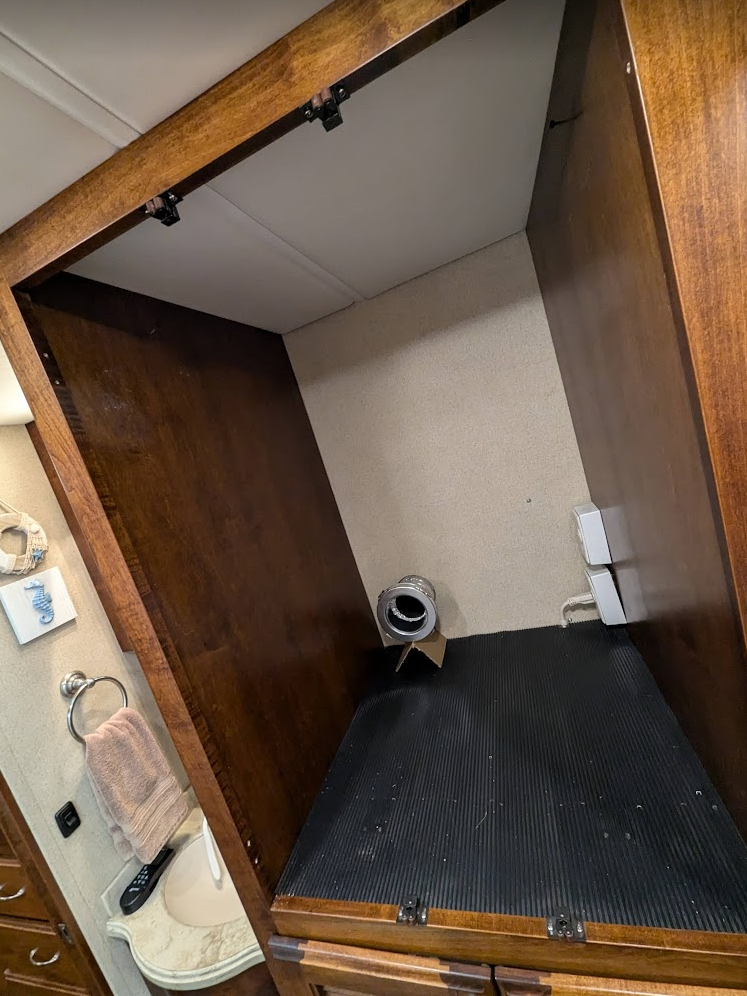
Overplan – under deliver. There is ~1 inch on each side of the dryer to the wall and maybe 2.5” on top of the drying to the ceiling of the closet. No room to work with. Getting in plugged into AC power is pretty easy with the dryer in the “leaning” position like the above picture, but hooking up the vent hose is impossible.
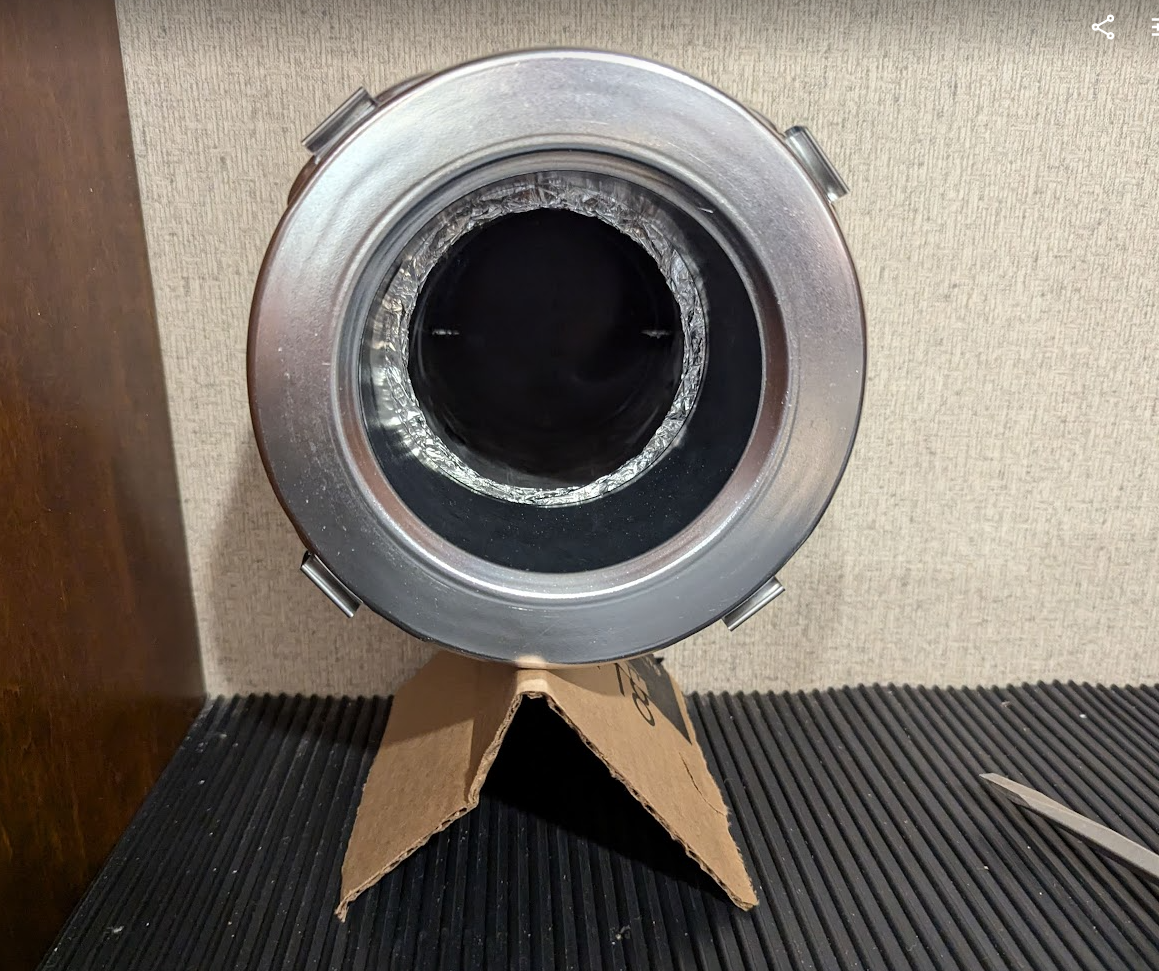
I was totally convinced that the vent hood on the outside of the RV was painted onto the sidewall of the RV and I did NOT want to disturb the factory paint to get access. That’s when my lovely wife found this!
In particular this model: https://www.magvent-dryervent.com/shop/mv-flex-any-vent-path
And it worked REALLY well, the hose just hooked itself up as I slid the dryer back into it’s hole. The downside was that the size of the Magvent pushed the dryer out about 3 inches, which interfered with the closing of the door and re-installing the trim and bits that hold it in there. Alas…….
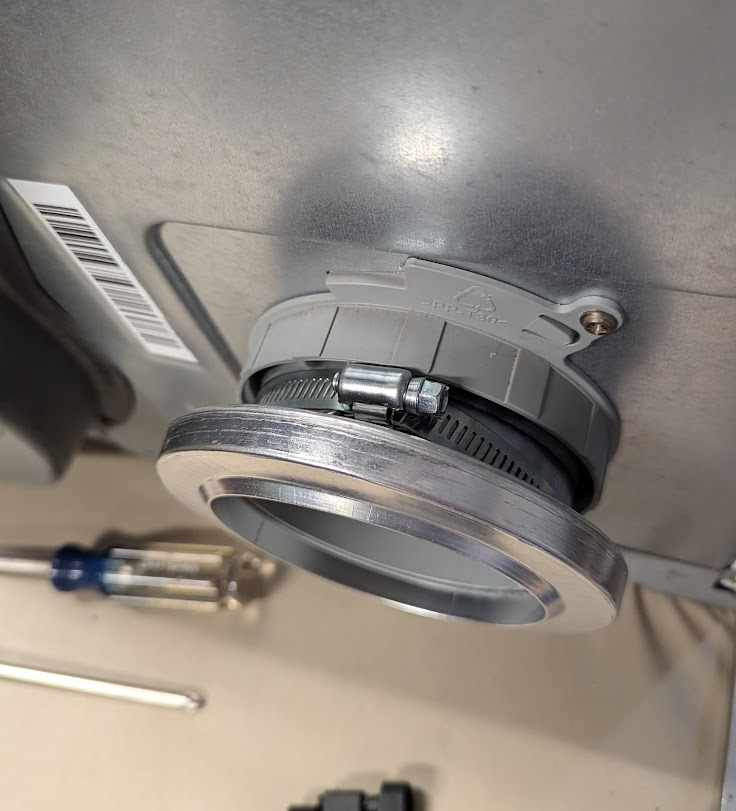
Now desperate, I took another look at that outside vent….maybe there is a way. Turns out I was flat out wrong and the vent cover comes off with no problem and no damage to paint. Making that hookup really easy without the Magvent. BAH!!
It’s ok though – I like that Magvent so much I’ll be installing it on the dryer at the sticks and bricks to get rid of the mess of dryer hose back there.
All in all glad I did this. I kept hearing other folks who replaced the motor to solve the noise issue, only to have the issue return. This was under $100 plus a couple of hours of labor….a new dryer is $700-$800 or a new motor at $200-$300.