I’ve always wondered why so many camper stoves and ovens used such antiquated technologies as physical “snap” spark units and pilot lights to get going. Snap sparkers have been replaced everywhere else with electronic ignitors (think your RV fridge, water heater or even BBQ grill) and pilot lights have been around since the dawn of natural gas and propane appliances. It is kind of ridiculous. So I decided it was time to perform a camper stove igniter upgrade!
Some might say, why should we upgrade a working solution. My answer is always improve! The main issues we solved are.
- Loud “clank” when lighting stove
- Crawling on the floor to light the oven pilot.
- Quicker and smoother lighting
Ok, not groundbreaking here, but it’s an inexpensive mod that makes life just a little bit better when out on the road camping. And I don’t wake up my wife when lighting the stove to make coffee – what really matters!!
Needed Equipment/Parts
- Step Drill Bit
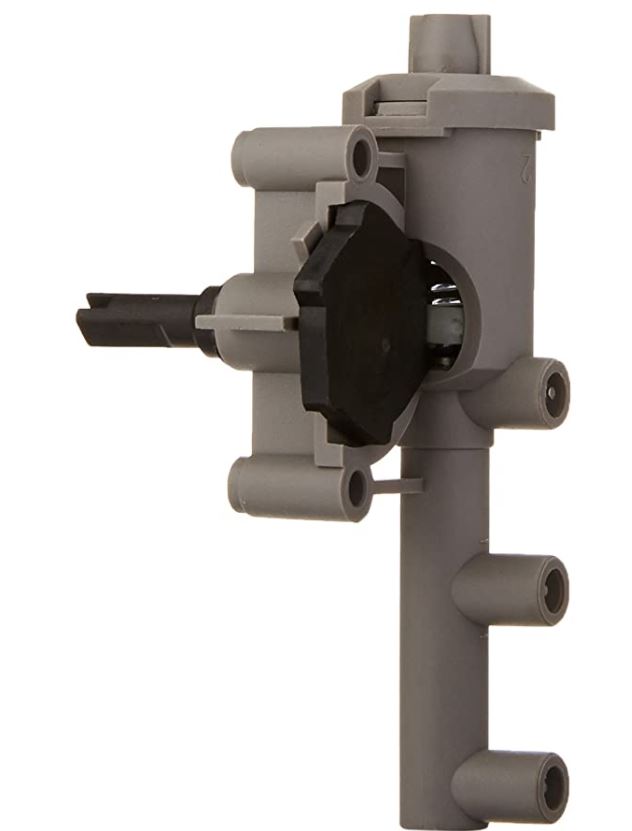
- Spark Igniter
- Igniter Leads (If you can find longer ones it is recommended)
- Wire Stripper
- Soldering Iron (I use Ryobi for a lot of things)
- Heat Shrink (Harbor Freight)
- Heat Gun (Again Ryobi)
- Pliers – use what ya got.
Installation
Basic – Stovetop
The end game here is to replace the old school sparker that comes on most campers. This will work for the top burners.

First, remove the existing sparker. The control knob should just pull off. There are 3 wires on the back that you’ll need to unplug. Then you can remove the 2 screws that hold it in.
To install the new battery powered sparker you will need to drill out the hole that the old control knob went through.

Once drilled out, it is easy to install the new battery powered sparker. The screw holes are barely noticeable after the install.
The wires that run from the sparker to the burners originally had a round connection. It is easy to squeeze them with pliers and make them easy to attach to the new sparker’s flat connections. Make sure the flat side of your pliers are at the “joint” so that they squeeze into your typical flat connectors.
Advanced – Oven
This has proven to be too difficult to keep working and I’ve abandoned it. If someone has gotten the oven to work reliably, I’d LOVE to hear from you over in the community!
Using the above Igniter Leads to attempt to install a spark ignitor on the oven pilot light. The wires on these leads are about 8 inches short of reaching from the sparker to the pilot light. The easy solution is to cut two of the provided leads – one near the “spark” end and one near the plug end. Then hook the 2 wires together. That is where the soldering iron, solder and heat shrink come into play.

It is an easy path to run the wire down the back of the oven to get it into the oven compartment near the pilot light. It is a blind fish – so it can be tricky to get the wire from the bottom of the oven up to the igniter. I used Harbor Freight fish sticks to get it up there.
As far as mounting the sparker and getting it close enough to the pilot light you will have to do some rigging. I had a few scraps of metal laying around and ultimately just made a bracket and attached it to the stove. This is by far the hardest part and is likely going to be unique to each install.
Oven Sparking
And there you have it – much better ignition system for the stove installed.
Having problems getting it up and going? Our member community has the answers….