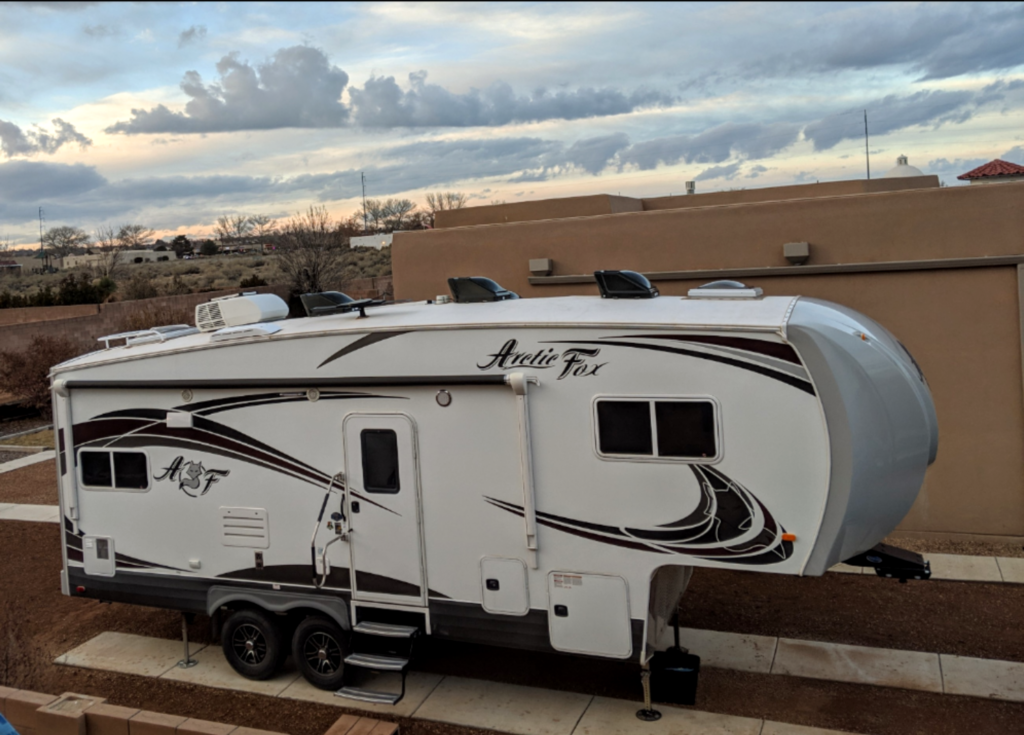
The long harsh winter is coming to an end. The weatherman says we’ll be getting into the 70’s most of the week and it seems like perhaps the hard freezes are over for the year. That itch to get out into the wilderness and enjoy nature and all her beauty is gnawing at you. You know it’s time, the first RV trip of the season is just around the corner! Your RV is there, ready for you to de-winterize, inspect and prep it for another exciting season!
Spring and Fall are the times of year where I do most of my maintenance on the camper. I have to winterize/de-winterize anyway so why not just give it a good once over. Like most things in life, there are many way to accomplish the same thing. We’ll be going over how I do it after years of taking care of campers. For other methods or ideas, we can discuss them in the Member Community.
Current State
In order to define a starting point, the RV will be in the following state
- Slides In
- Battery(s) on shore power, disconnected or even removed.
- All appliances shut down
- Water system drained and winterized
- Level (optional but recommended)
- Propane turned off at the tank(s)
Things You Will Need
- Water Hose (see my recommendations in the Guide here)
- Socket and Wrench for the hot water tank Plug/Anode Rod
- Hookups – fresh water and dump
- Multimeter and/or Hydrometer
Electrical
First lets get the electrical system up and going. If you removed your batteries, re-install them now. Make sure any battery disconnect is set to ON and confirm you have good 12V power in the trailer.
For flooded lead acid batteries (the vast majority) now is a good time to check the water level in the cells and if low fill them with distilled water. Make this task easier with this handy gadget.
Check your batteries. The easy but not super accurate way to do this is with a simple multi-meter. A fully charged battery should read 12.6V when not connected to a charger or a load. A more accurate way to test is with a Hydrometer on Amazon or the local auto parts store. Learn a lot more about your batteries here.
Slides
Go ahead and extend out your slides. Most slide systems are “maintenance free” and you shouldn’t have to do much here. I do lubricate the gears and rails, but DO NOT USE A WET LUBRICANT. If you use something wet you will attract dust and debris to stick to the mechanism. As a matter of fact, most slide manufacturers say no lubrication is required. For that reason I only use a dry lubricant like teflon or graphite spray. Use graphite where it won’t be visible, and teflon in visible places.
I do NOT lubricate or condition my slide seals. I did this once with a treatment made for slide seals and then the rubber flaps wouldn’t flip when putting the side in and out. Had to go clean them up with rubbing alcohol to get them to flip again. Some people will say you have to do this, and generally I don’t think it hurts anything. Guess we just like to live on the edge, and have never had one fail or even begin to look like it was getting weathered.
Propane
First, turn on the propane at the tank. I then turn on all the burners to the stove and let it run for 10 to 30 seconds and try to light. Keep trying to light until the propane gets there and it fires up. Just pre-charging the system so the other automatic appliances don’t have to.
At this point you can fire up the fridge if you need to let it start cooling down. You can also fire up the furnace if it’s chilly in there.
Water
First thing I do is insert the Anode Rod or Plug into the hot water heater. If its an Anode Rod, wrap the threads in Teflon Tape. The plugs are usually plastic and don’t require tape. Be really careful not to cross thread it as you work it in. It doesn’t have to be super tight, just nice and snug.

Now find out how to access the back of the hot water heater – the side that is “inside” the camper. In the plumbing feeding it there is almost always a hot water bypass valve(s). Some units have 2 valves, some just have 1. Either way, make sure one or both of the valves “point” towards the hot water heater and not toward the bypass.
If your camper has a hose you can put into a jug of antifreeze for winterizing, make sure that is set for normal operation – with the valve pointing toward the water pump, not toward the antifreeze line.
Optional – Sanitize
I say this is optional. If you use your rig all year and are regularly putting municipal city water into the tank, that water contains chlorine and should keep things safe. However, if it sits unused for a few months it might still be a good idea to sanitize. While I live on a well with very good water, it is not cholorinated so I do this once a year.
Fill your fresh water tank about 1/2 full. Then add liquid bleach. Make sure the bleach is unscented, the ingredients should be bleach and water only. Add approximately 1/4 cup for each 15 gallons of fresh water capacity. I have an 80 gallon fresh water tank so I pour in about 1 1/2 cups of bleach. Then fill the fresh tank the rest of the way to full.
NOTE: If your camper doesn’t have a gravity fill, you can set it up for “fresh water fill” and use a piece of hose and a funnel to pour the bleach in. The first time you do this, test it with water to make sure gravity will be enough to pull the liquid into the system. I’ve also seen people get the bleach into their fresh water hose with a funnel and then hook it up to city water connection and let it fill like that.
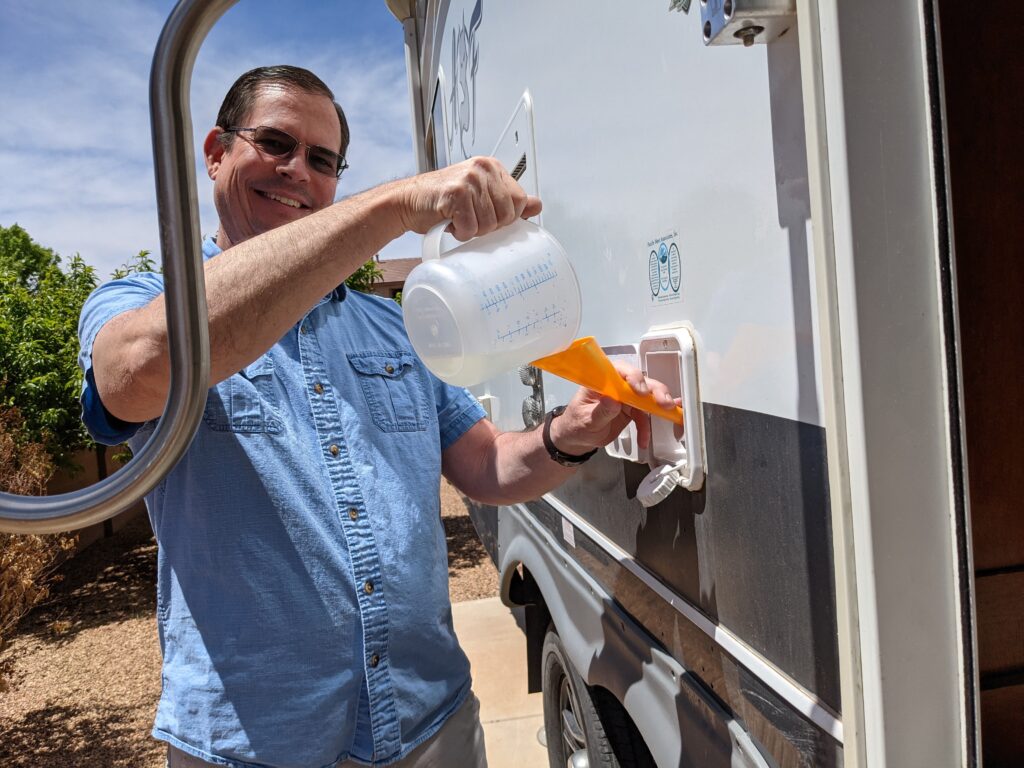
Now, fire up the water pump and go open the hot water in the trailer that is closest to the hot water tank – for me its the kitchen sink. Let it run until the hot water tank is full and you get a good steady flow of water. You should be able to lightly smell the bleach.
Go to each of the fixtures and run hot, then cold until they run smoothly. Don’t forget the outside shower or the toilet!
At this point, some folks like to go for a little drive to slosh around the sanitizing water. Honestly, I usually don’t, but now is the time if you want to do this.
At this point, let the camper sit for a couple of hours. Some folks say let it sit for 12 or more hours, but honestly bleach works faster than that and 2 hours is more than enough.
Now the hardest part of all of this, getting the bleach out of the system. Dump your fresh water tank, fill it with 10 or so gallons (just guess) and dump it again. Do this again. Then, for the 3rd time I put in the 10 gallons or so and then open the dump valve, catch a bit of water in your hand and make sure it doesn’t smell of bleach. No smell, filler ‘er up. Still a smell? Repeat the 10 gallon bit until there is no smell, then fill ‘er up.
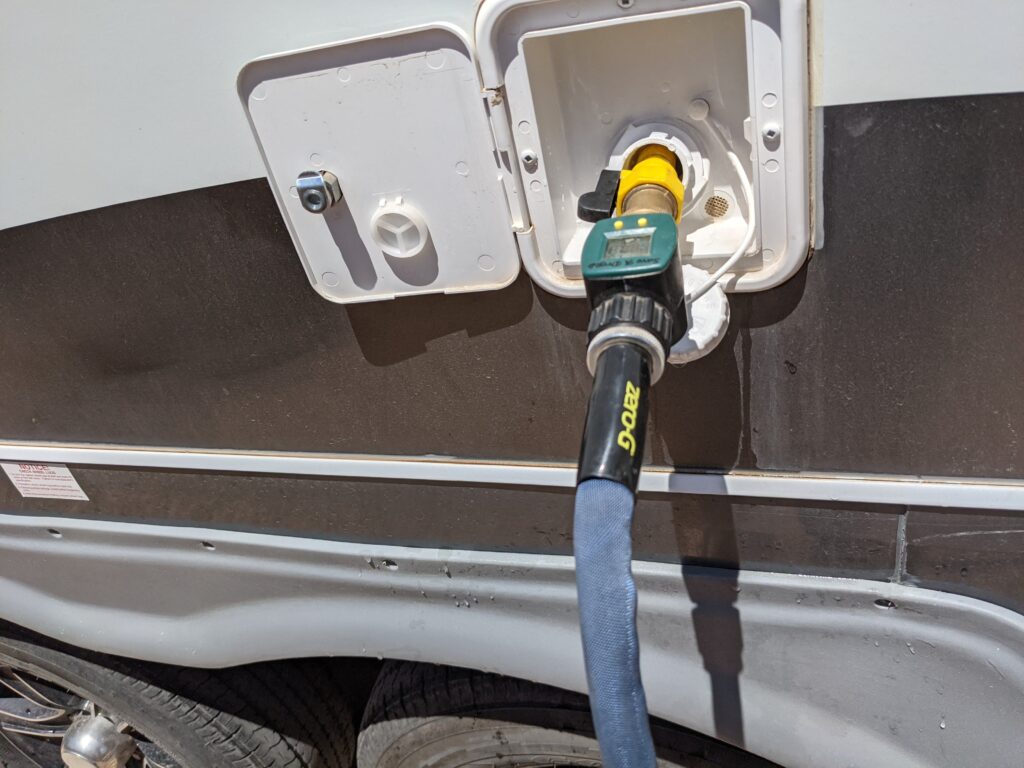
For the hot water heater I go back and forth depending on my mood. I either pull the plug, let it drain and then re-install the plug. Or I just let run the hot water faucet closest to the tank until I no longer smell bleach. I think the former is faster. Remember, through all of this the hot water heater is turned off.
Run the water, both hot and cold, at all the faucets until there is no longer any bleach smell……and you’re done!
Now you know why I only do this once a year, it’s a process….
Inspections
Now it’s time to check everything out and see how it faired over the winter.
Get up on the roof, look at all the seals, seams and penetrations. You looking for cracks in the sealants or any way water could get in there. Here is what I found last fall during this inspection. Don’t forget the tops of the slides! Also check all the covers and screens – over time in the sun they degrade and could have cracked or become brittle and need to be replaced.
Now do the same thing for the sides and ends of the camper. Look at all the sealants and make sure they are in good condition. If they are not, time to re-do them.
Check the tires. Make sure the air pressure is right, check the sidewalls for cracks and the condition of the tread. No matter how they look, when my tires hit 5 years of age it is time for replacement. Sooner if they are some no-name brand. More about tires here.
For me as a weekender, I’m not putting 10’s of thousands of miles on my trailers every year. Based on that I only re-pack my wheel bearings every other year. When I get to a point in my life where I can be on the road more I might do it more often. While in there, check our your brake pads and make sure all is well.
Give the underside of the rig a look over. Lubricate the suspension. There are zerk fittings down there, grease em! Look at the welds near stress points like where the suspension mounts to the frame, they sometimes stress and crack. While your at it, lubricate and inspect your hitch per the manufacturers instructions.
Conclusion
I’m a firm believer in an ounce of prevention is worth a pound of cure. By keep an eye on my rig and taking care of little things, I’ve never had major issues while out on the road. Yep, some of that is pure dumb luck, but some of it is also diligence. As just one example of this, in one of my walk arounds I noticed uneven wear on one of the tires. By the time I got home, it was bald on the inside of the tire. Put on the spare, got it to an suspension shop and re-aligned then put on a new set of 5 shoes. Problem never returned. But had I not seen the issue, I would have had a blowout….no doubt about it.
If you have questions, especially for something specific on your particular rig that doesn’t seem to be covered, hop on over to the friendly and helpful Member Community. We are here to help!

