Of all the systems and features in todays campers, the plumbing systems is one of the biggest things that make it feel like home. The system is very similar to residential system, with a few added components that make it usable on the road. We’ll go over the water plumbing systems in a way we hope is a good primer for beginning campers.
Indoor plumbing was a MAJOR factor in my wife and I buying our first camper, I told the story HERE.
At the highest level, there are 2 major systems – Fresh Water and Waste Water. We will briefly go over each system and highlight some things to watch out for.

Fresh Water
When you are camping you will get one fresh water in one of 2 ways. Carrying your own water in the Fresh Water tank or via a hose hooked up to the City Water connection.
Fresh Water Tank
The fresh water tank is typically filled via hose either via the City Water connection or via a gravity fill port on the outside of the camper. If your camper fills via the City Water connection refer to the owners manual on the proper way to setup the various valves to enable this. If you fill via a gravity feed, this devices makes it much easier.

Once you have water in the tank, you can then turn on the Water Pump to pressurize the plumbing system for use. In most campers you can clearly hear the water pump when it runs. It has a pressure sensor and only runs when there is demand for water.
If the pump runs when nobody is using water the is almost certainly a leak somewhere that should be investigated!
City Water Connection
The City Water connection is where you’ll connect your hose to the campground or other water source.

When you are connected to the City Water connection there is no need to run the Water Pump or even to have water in the Fresh Water tank. The water pressure comes from the water source – and you should be careful with it! I’ve been in numerous campgrounds where I’d open the spigot just to see and it would come out with so much force it would scare me! A pressure regulator is important. There are cheap little brass ones that a lot of dealers will even give you as part of your “kit” with the camper. I don’t like them at all as they severely restrict the flow. I’m not convinced that restricting the flow is all that they do!
This unit has worked well for us over the last 3 years or so. I had a similar one before where the gauge leaked out it’s oil and quit working. Hook this either directly on the spigot or through a splitter if I’m using a splitter for some reason. I want the regulator first in line so that my water hose and/or filter is protected.
A couple times I’ve been in campgrounds where the spigot at the site was so messed up I couldn’t get my hose to thread on and get a good tight seal. This little gadget is of great help in that situation.
Another campground we stayed at up in Moab, UT had so much chorine in the water that it stank up the inside of the trailer. It was STRONG. After that I started carrying one of these.
Speaking of water hose. For many years we used the white “RV” safe water hoses you can find anywhere, even Walmart. Then we found the Zero-G hose line. WOW – love these things. I can carry 100′ of hose in the space that 30′ of traditional hose would take, and it is WAY less bulky and much easier to work with.
Hot Water System
Most campers come with a hot water heater. Traditionally these have been tank based heaters from 6 to 12 gallons in size. Just like in residential, you are now seeing more and more “on-demand” water heater that don’t have a storage tank. Most water heaters can run off of propane or 110V AC power when you have shore or generator power.
Some older units have a pilot light on the gas side, but that is getting rare these days. Most have DSI or a sparking system that lights the flame. This system uses the 12V side of the RV Electrical System
Always make sure the tank has water before turning on the hot water heater. It will damage it and could be dangerous to run it dry.
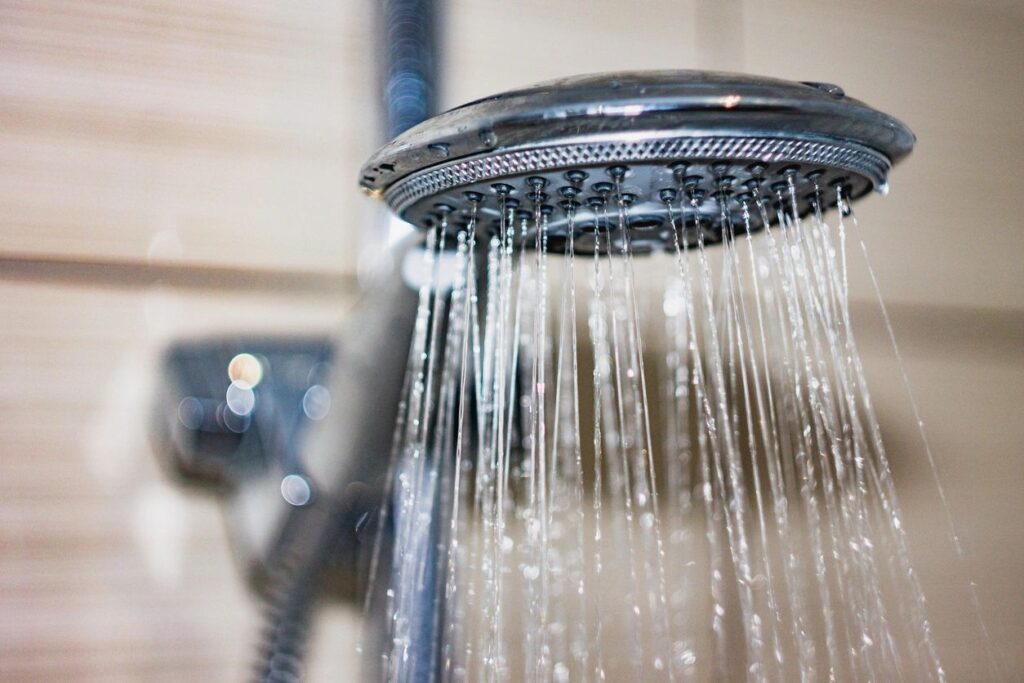
QUICK TIP: If my wife and are both going to shower, I’ll turn on both the propane and AC heating elements to speed up recovery time. We’ve always had enough hot water for a comfortable shower.
Waste Water System
The waste water systems in most campers consist of a combination of Grey and Black tanks. Depending on the floorplan, there may be multiples of either type of tanks. In our Arctic Fox, we have 1 Black tank and 2 Grey tanks.
- Black Tank – Toilet Wastewater
- Grey Tank – Sink/Shower Wastewater
The tank level gauges are NOTORIOUSLY inaccurate. The fresh tank gauge usually works well enough as it doesn’t get junked up with paper and other contaminates. I know some people upgrade to the SeeLevel System. For me, after you use a camper for a while you just start to get a feel for where you are. That along with the fact we mostly boondock so my fresh water supply will run out before my waste tanks are full.
Always leave the valves closed when you are in a campground. You want your black tank at least 1/2 full so it will dump properly and you want available grey water to “flush” the hose after you dump the black.
I know the first time I went to dump the waste tanks I was pretty nervous. Just the thought of a mistake and the nastiness of it all made me approach it with extreme caution.
I have a box of Harbor Freight Nitrile gloves and a bottle of hand sanitizer in my kit.


The Equipment
I use this and leave it connected to the trailer. The valve is super handy as there is almost always a bit of water that collects there as you go down the road. If you just use the cap that came with the RV, that bit of water always spills out on the ground. The other key to this particular one for me is the clear section – this lets you see what is backed up behind the valve.
Next is the 45 degree clear elbow connection. With the valve above this being clear is a bit redundant, but I had it before the valve. That 45 degree shift “smooths” the flow when you are dumping and a ton of water is flowing through.
I like the Valterra hose support more than the Camco because of the rubber straps that go over the hose and hold it in place. As you are setting all of this up, thinking about the forces that large amounts of water flowing through the hose will cause. Especially where there are curves in the hose – it can hop right off it’s supports.
In the picture of my rig above I’m using the RhinoEXTREME. For me, a sewer hose usually last 3-4 years and gets replaced. In this case the EXTREME replaced my RhinoFLEX. But, end of the day I like the RhinoFLEX more. The Extreme doesn’t collapse as well as the RhinoFLEX and is harder to work with. I made the mistake of thinking…..”Heck, the Extreme is more expensive and crush resistant, it must be better.” I was wrong. The RhinoFLEX is a solid piece of kit.
I also keep one of these on hand for those rare cases when the Rhino adapter can’t screw into the campground sites sewer connection for whatever reason.
The Process
Hook it all up as in my picture above. Make sure all the twist-lock connections are locked, you can fell them “snap” into place. Try to set it up so it is downhill all the way – let gravity do the work. It’s not always possible depending on the campsite layout. Try to keep the hose straight and avoid tight turns – when that water starts flowing curves can cause things to move around.
Always dump the black tank first, then the grey water will help to wash out the hose as it goes through.
I pull the black valve slowly, watching the whole setup to make sure nothing is going wrong. Once I’m confident in my setup, pull it all the way out. If you have a black tank flush, now is the time to turn it on. Let it run until it stops (or runs clear if you have a flush). Turn off the flush and close the black valve.
For us, with 2 grey tanks, I next dump the kitchen grey tank. My logic here is that the kitchen water is “dirtier” than the bathroom grey tank which only has shower and bathroom sink water in it.
While that tank is draining, I go up into the camper and fill the toilet bowl full and flush it….twice. That should be 3-4 gallons of water that I then leave in the black tank. If you use odor chemicals or concoctions, add them as well. I rarely if ever use this stuff.
After you’ve dumped all your waste tanks, if you were not able to get an all “downhill” setup, you will have to do the hose dance. Starting at the end closes to the camper, and with all the connections still connected, raise up the hose. Now “Walk” it towards the campground dump, pushing all the water out of the hose and into the dump station.
And that is it. Some folks rinse their hoses after all of this, but with the Rhino hose you have caps for both ends so I don’t find it to be needed.
Water Gotcha’s
- Always leave a bit of water in the bowl of the toilet. Helps with odor control and keeps the seals wet.
- Turn off the pump and/or water spigot when you are away from the camper to prevent surprises.
- Just like at home, keep water in the P-Traps of the sinks/shower to prevent odors.
- Sanitize the fresh water system. We do it once a year in the spring.
- Don’t run a black water flush with the black tank dump valve closed. You don’t want to accidentally overfill the tank!
- NEVER run the hot water heater when it doesn’t have water in it.
There you have it, the basics of the water systems in a typical camper. There can and are variations on these system, but this covers the vast majority. Always refer to the manual of your camper for specific nuances.
And if you have an questions, hop on over to the member community where we are always standing by to help!