The Search
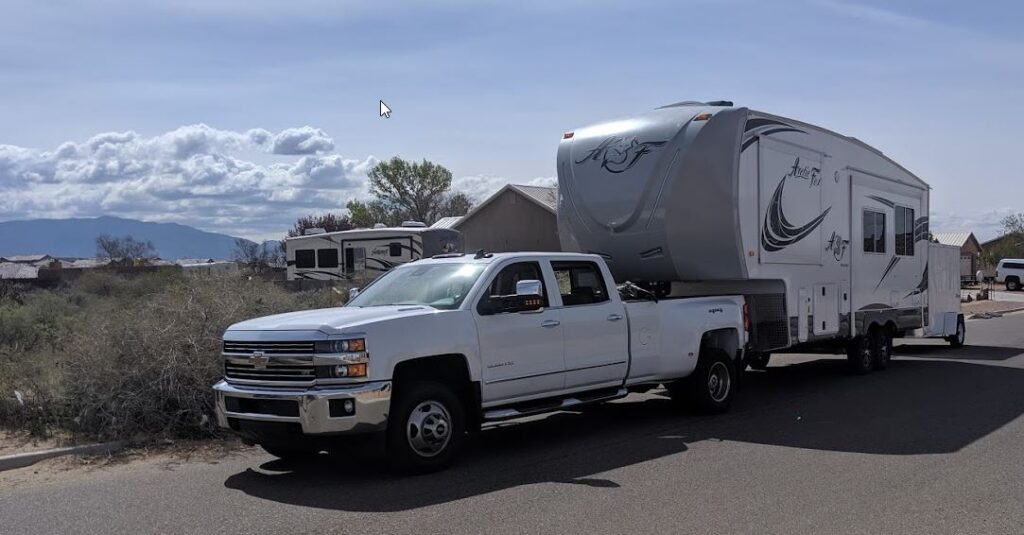
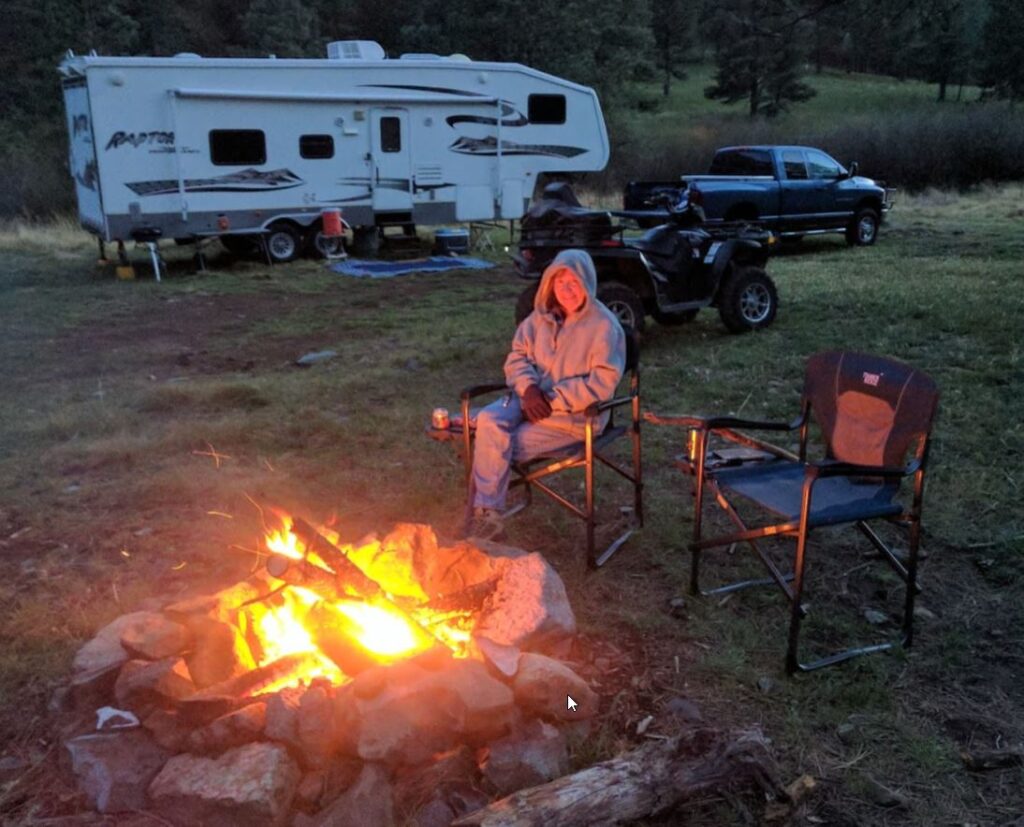
The above 2007 Keystone Raptor 299MP was a mistake purchase. We had recently acquired a 4-wheeler and wanted to have a rig to use to take the bike with us camping. I had done some research and felt that a toyhauler would be our best option. The problem I was running into is that toyhaulers are big and HEAVY. My 2005 Ram above had a towing capacity of around 13,000lbs and the toyhaulers I was finding were considerably over that. And honestly at the time I wasn’t even taking into account the Pin weight, and I should have been.
The wife and I had stopped in at the local Camping World to have a look around. They had just taken in the Raptor on trade and when I looked at the dry weight of 10,400 lbs and GVWR of around 13,500lbs I thought – WOW – we have found it! My wife was not an enthusiastic to say the least, especially with the living space décor. (Note to self, listen to your wife!!) Small but usable living space. 10 foot garage that was isolated from the living space. 3000lbs cargo capacity (ATV weighs around 900 lbs). She is PERFECT …
The Problem
- The mistakes I made on this purchase were on systems and components I didn’t yet understand. Namely:
- Gas fired Generator
- Exterior laminated fiberglass walls
When we first got it, the generator would surge – RPMs going up and down pretty dramatically. But it ran and I figured it’s OK. In the end, the carburetor was replaced, but then it would typically only run 20 minutes to an hour and then die. I spent hours troubleshooting this and believe it was a problem in the fuel line which ran from the gas storage tank in the rear all the way to the front storage compartment. In the end, the generator provided almost no value to us.

The delamination on mine wasn’t this bad, but left alone I’m sure it would have gotten there.
The bubbles were slightly noticeable when I got the trailer and expanded over time. When I noted they were expanding I did my learning and realized this could be a very big deal. I re-sealed the entire roof with Eternabond Tape. Rebedded all the windows and other openings with Butyl sealant and caulked up everything real nice with Proflex RV sealant. All of these items are in my road repair kit in the camper. This seemed to stop the spread of the bubbles, but the damage was already done. We sold the trailer shortly after that (fully disclosed the issues) and moved on.
Oh, as a side note. PLEASE don’t ever use silicone to seal up your RV. Nothing sticks to silicone, even more silicone so it will make the next repair VERY difficult.
When a membrane roof needs touchups, most people use Dicor Self Leveling sealant at all the seams and penetrations of the roof membrane. I do too for minor and quick touch-ups on the roof. It’s a quick, easy and validated roofing system.
However, the prior owner of this trailer had attempted to seal the roof using silicone. I should have caught this during inspection! Anyway, with silicone attached to an EPDM roof, there was no way to seal it because the Dicor wouldn’t stick. And no way to remove the silicone from the membrane without damaging the membrane.
Yeah, that nothing sticks to silicone became pretty darn important.
At this point I felt I had 2 choices
- Full roof membrane replacement
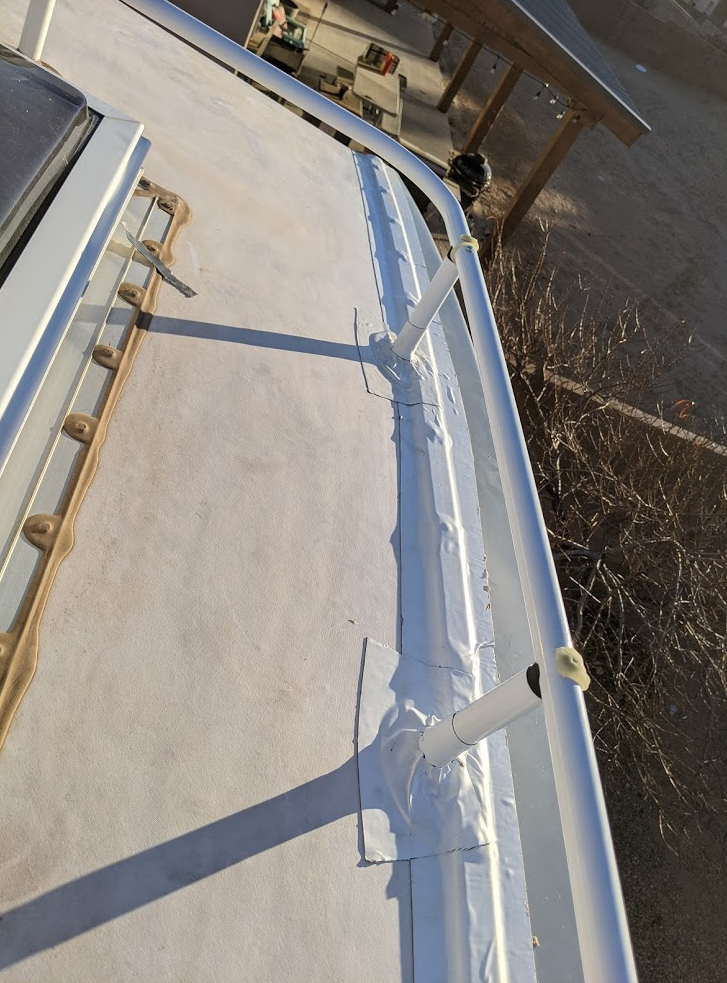
- Use Eternabond tape to “span” the silicone and get a good seal on either side of it.
Yeah, that is why I went with Eternabond. Here is what I used it for on our current camper. Love this stuff.
You can read the process I use now when evaluating a camper or RV for quality here. Hopefully it will help you not go through what I have.
Modifications
- Upgraded power converter to Progressive Dynamics
- Install coat rack
- Installed key and remote holder
- Replaced tube type TV with LCD and mount
- Installed towel rack and shelf in bathroom
- Installed an exterior inverter to run my Pellet Smoker
- Installed an Oxygenics Shower Head
- Installed level indicators here and here
- Replaced all the light bulbs with LEDs
- Steps add so my wife can reach the higher shelves
Repairs
- Re-Sealed the entire roof with Eternabond
- Replace fuel filler hose (kinked and split)
- Replaced tires with heavier duty
- Replaced outdoor shower with hose connection
- Replaced generator transfer switch
- Replaced the refrigerator thermistor
- Replaced tank level indicator panel